Here’s how you can use a Custom JRE/JDK for your Java Application deployed on Azure WebApp:
STEPS
- Upload your JRE/JDK via FTP or you can simply upload it via the Kudu Site. If you have a direct link to the zip file, you can use the curl command to download the zip directly on the WebApp:
Example:

You can then extract the zip using the command: unzip file.zip
- Create a web.config under D:\home\site\wwwroot with the following content:
![]() Modify the JRE_HOME environment variable in web.config as per your configuration.
Modify the JRE_HOME environment variable in web.config as per your configuration.
<?xml version="1.0" encoding="UTF-8"?>
<configuration>
  <system.webServer>
    <handlers>
      <add name="httpplatformhandler" path="*" verb="*" modules="httpPlatformHandler" resourceType="Unspecified"/>
    </handlers>
    <httpPlatform processPath="D:\Program Files (x86)\apache-tomcat-8.5.37\bin\startup.bat">
      <environmentVariables>
        <environmentVariable name="JRE_HOME" value="D:\home\site\wwwroot\java11" />
      </environmentVariables>
    </httpPlatform>
  </system.webServer>
</configuration>
That’s it! ![]()
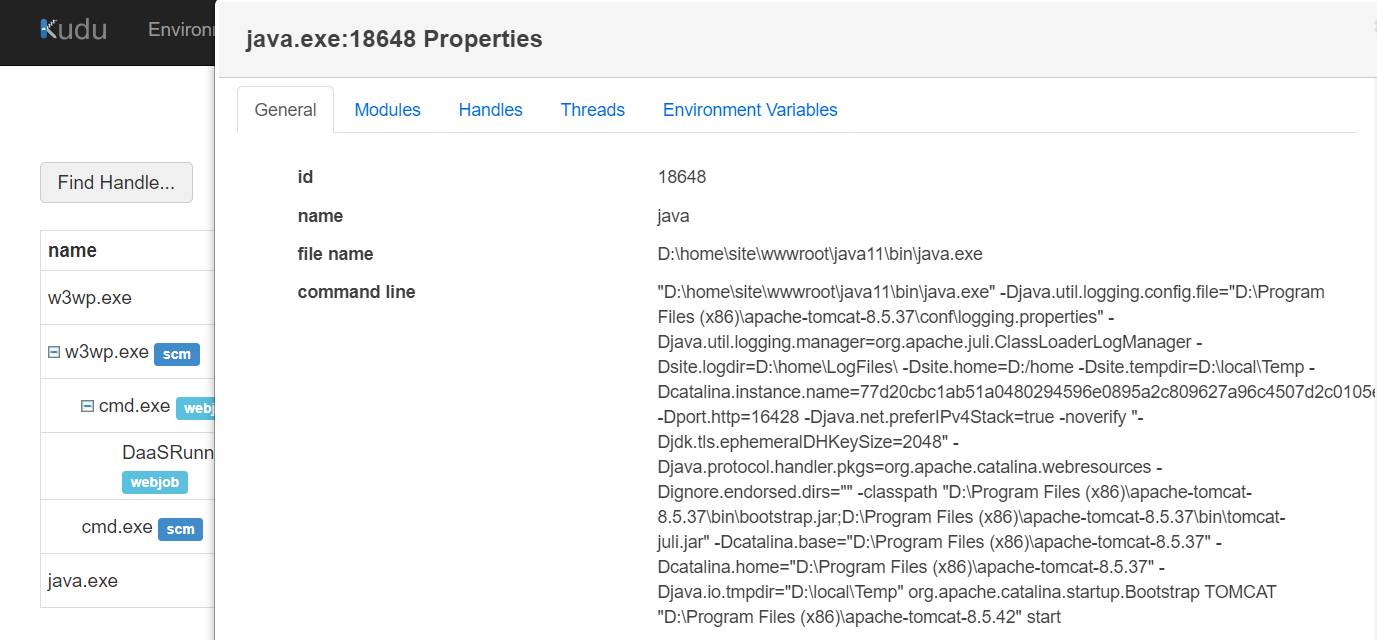
You can verify that the WebApp is now using our Custom JDK by checking the Properties of the Java Process from Process Explorer tab in the kudu Console:

If you want more control over your application, you could also use a Custom Tomcat!
Here is a Template which you can use: Tomcat Template
